This tutorial covers some of the basic tools TG provides for texturing your terrain. It is a continuation of the Making Cliffs tutorial and assumes you have a similar terrain to texture.
The terrain we generated in the previous tutorial consists of two basic layers, the cliffs and the paths between the cliffs. This is the perfect setup for the 'Texture Layering Tool'. Let's load it up. From the 'Tools' menu select 'Textures' then 'Set Texture Layers'. Your screen should look like this:
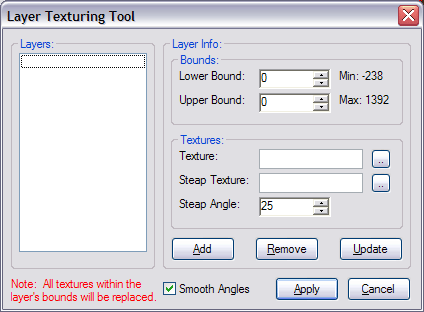
First off we need to set the lower and upper bound for the path layer. For the 'Lower Bound' select something that falls below the 'Min' value, for the 'Upper Bound' select something approximately one third up from the 'Min' value in relation to the 'Max' value. If you're a little confused about what values to use just use something you think will fall around the general range of the height of the path.
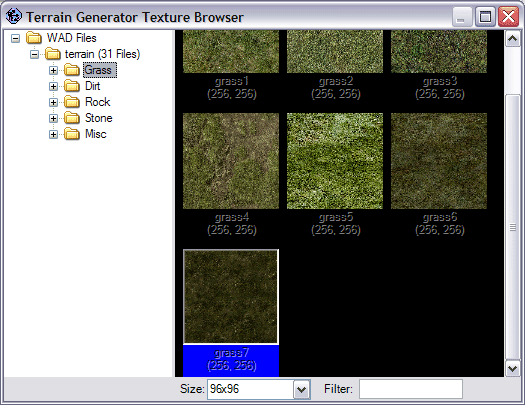
Next we need to select what texture we want to use in this layer, since this is the path layer I decided to use a grass texture. To browse through your currently loaded textures press the button with the two dots beside the 'Texture' field. A window will pop up and you can select a texture by double clicking it as shown below:
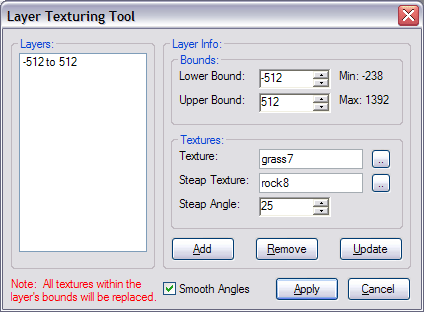
Next you will need to select a 'Steep Texture' this is the texture that will be used on faces that have a greater incline then that of the 'Steep Angle' i.e. the cliffs. For this I have selected a rock texture. When you are satisfied with the path layer press the 'Add' button. Your screen should look something like:
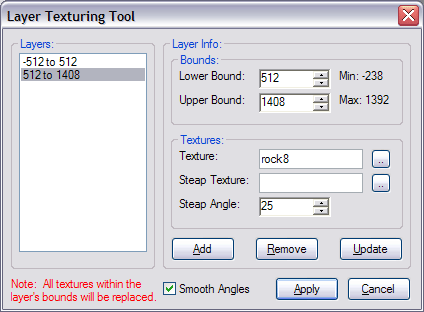
Next we need to add the cliff layer, for the 'Lower Bound' select the previous layer's 'Upper Bound' and for the 'Upper Bound' use a value greater then the 'Max' value. Once you have the bounds set you need to select a 'Texture' for the layer. For this use the same texture that you used for the previous layer's 'Steep Texture'. Once you are happy with the cliff layer press the 'Add' button to add it to our list of layers. It should all look something like:
Finally press the 'Apply' button to retexture the terrain using your custom texture layers. Your end result should look something like this (if it doesn't you can go back and edit the texture layers you created until you get the desired texturing.):
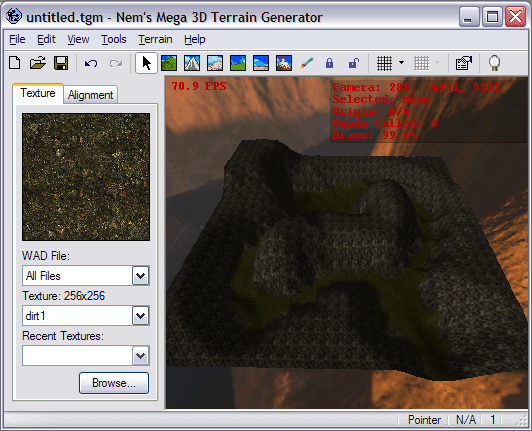
Now while the 'Layer Texturing Tool' will do most of the texturing for you, you'll still notice that there will be a few quads textured without the correct texture as shown below:
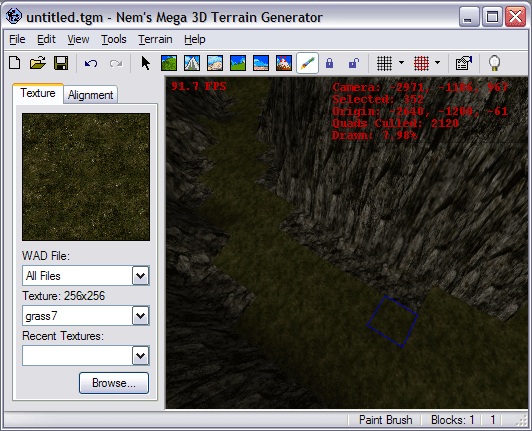
To fix this simply select the 'Paintbrush' tool from the 'Tools' menu and browse to the correct texture using the controls on the left of the form. Once you have the correct texture selected left click and drag your mouse over the terrain you wish to retexture. The end result should look something like:
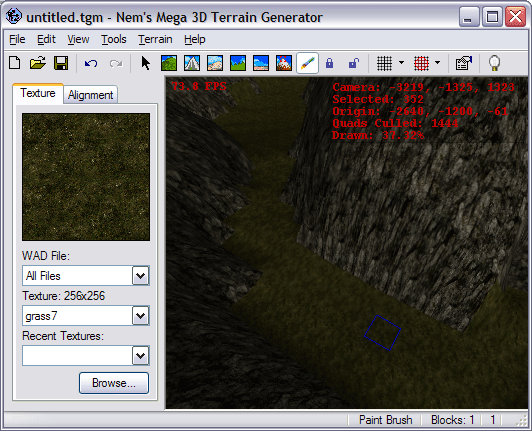
Now were going to want to increase the scale of the textures to help eliminate that ugly tiling effect. With the 'Paintbrush' tool move your mouse until its selection is over the grass textured quads. Next press 'M' on your keyboard to mark that quad as shown below:
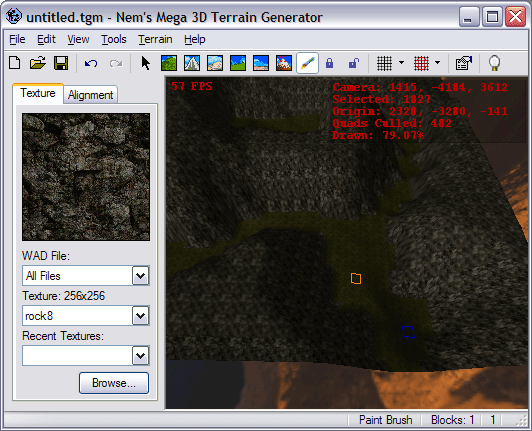
Next head over to the alignment tab on the left and jack the U and V scale up to about 4. This will change the scale of the selected quad as shown below:
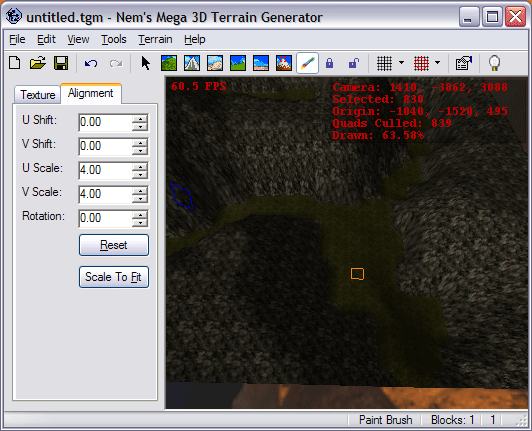
This is all very well and good but we want these settings to be applied to all of the grass textured quads. Fortunately for us there is a simple painless way to do this. With the scaled quad still marked select 'Tools' then 'Textures' and finally 'Wrap All From Marked'. Now all the grass textured quads should all be scaled and aligned to the marked quad as shown below:
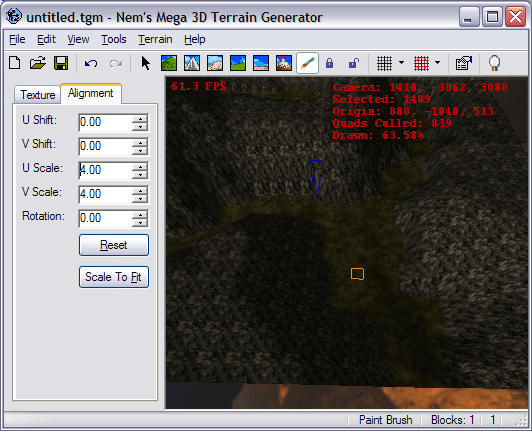
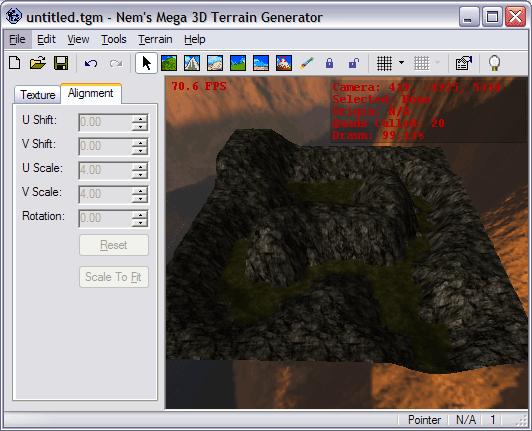
All that's left now is to repeat this process with the rock textured terrain. When all's said and done your end result should look something like:
Last but not least we're going to export out terrain for use in Hammer. From the 'File'menu select 'Export' then 'Export Options'. This will bring up the 'Terrain Generator Options' form and allow us to customize how the terrain is exported to the .RMF file. Select the below options:
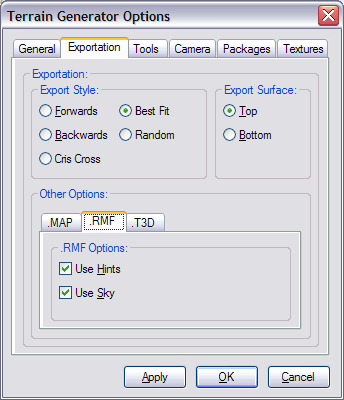
Finally from the 'File' menu select 'Export' and then '.RMF File' and export your terrain to somewhere on your disk (be sure to save it too so you can load it up and edit it later). We are now ready to prepare our terrain for Half-Life. Please continue to the next page.
Nice, finally know how to use the layer feature :)
Thanks You for this great Application!
is there a way to make it so that there is null textures on the 90 degrees or which ones u cant see for lag reduction?
I'm sure you could use the Texture Layering Tool to accomplish that...
Excellent application!
But i have a question: when i use the raise tool (or
mountain tool), and then create a high textured mountain appears an ugly "texture clamping" effect in the textures. This happens when quads are stretched too much in a high cliffs. So, how can i avoid this? It could be possible to repeat the textures in those quads to eliminate this effect?
There is no automatic system for this; you'd have to manually adjust the texture on each face.
->Textures->Wrap All from Marked. I do this and nothing happens. I tried it with the rock wall too, nothing. Is there something else I have to do? I still have the box checked when I'm doing it too. It's just like you showed, but it won't work...
terrain size not divisible by displacement subdivision size
terrain size should be a multiple of 4, 8 or 16 (and the appropriate displacement power selected)
I've tried subdivision size 2, 3, and 4. Terrain size is 30, 30, 256
X range: 7680
Y range: 7680
Z range: 1838
multiply them is divisible by 4, 8, AND 16
So I've tried every option and still get the error on export - any suggestions? Thanks
guess i've gotta start over
I would like to use an outside/myown background if that possable?
By the way this is a great tool.
The background is set in the Options form under the Textures tab. There are six dialogs that allow you to select each of the six faces in your skybox. Terrain Generator expects the textures to be in the standard Half-Life format. They have no effect on the outcome of your terrain.
umm...i dont know if this is needed....do i have to load textues into the browser...when i browse them it shows nothing
By the way, it would be nice to answer these questions..
- Start a new terrain.
- Select Options from the Tools menu.
- Go to the packages tab.
- Press Add Packages for each .wad you want to load.
- Press Add Folder for each directory of textures you want to load.
- Start a new terrain.
- Select Options from the Tools menu.
- Go to the packages tab.
- Press Add Packages for each .wad you want to load.
- Press Add Folder for each directory of textures you want to load.
Thanks! Ryan